Momentum Bag
Solo Project - Wearable Technology - OCAD
Project Goal
Create a custom switch or actuator using unconventional materials. Explore the potential of DIY/non-traditional/electronic materials for switches. Encourages creativity and innovation in interactive experiences.
In Depth - Process
/*
  DIY Button Code

  Turns on and off a light emitting diode(LED) connected to pin 9, 10, 11,
  when opening or closing the DIY button attached to pin 2.

  The circuit:
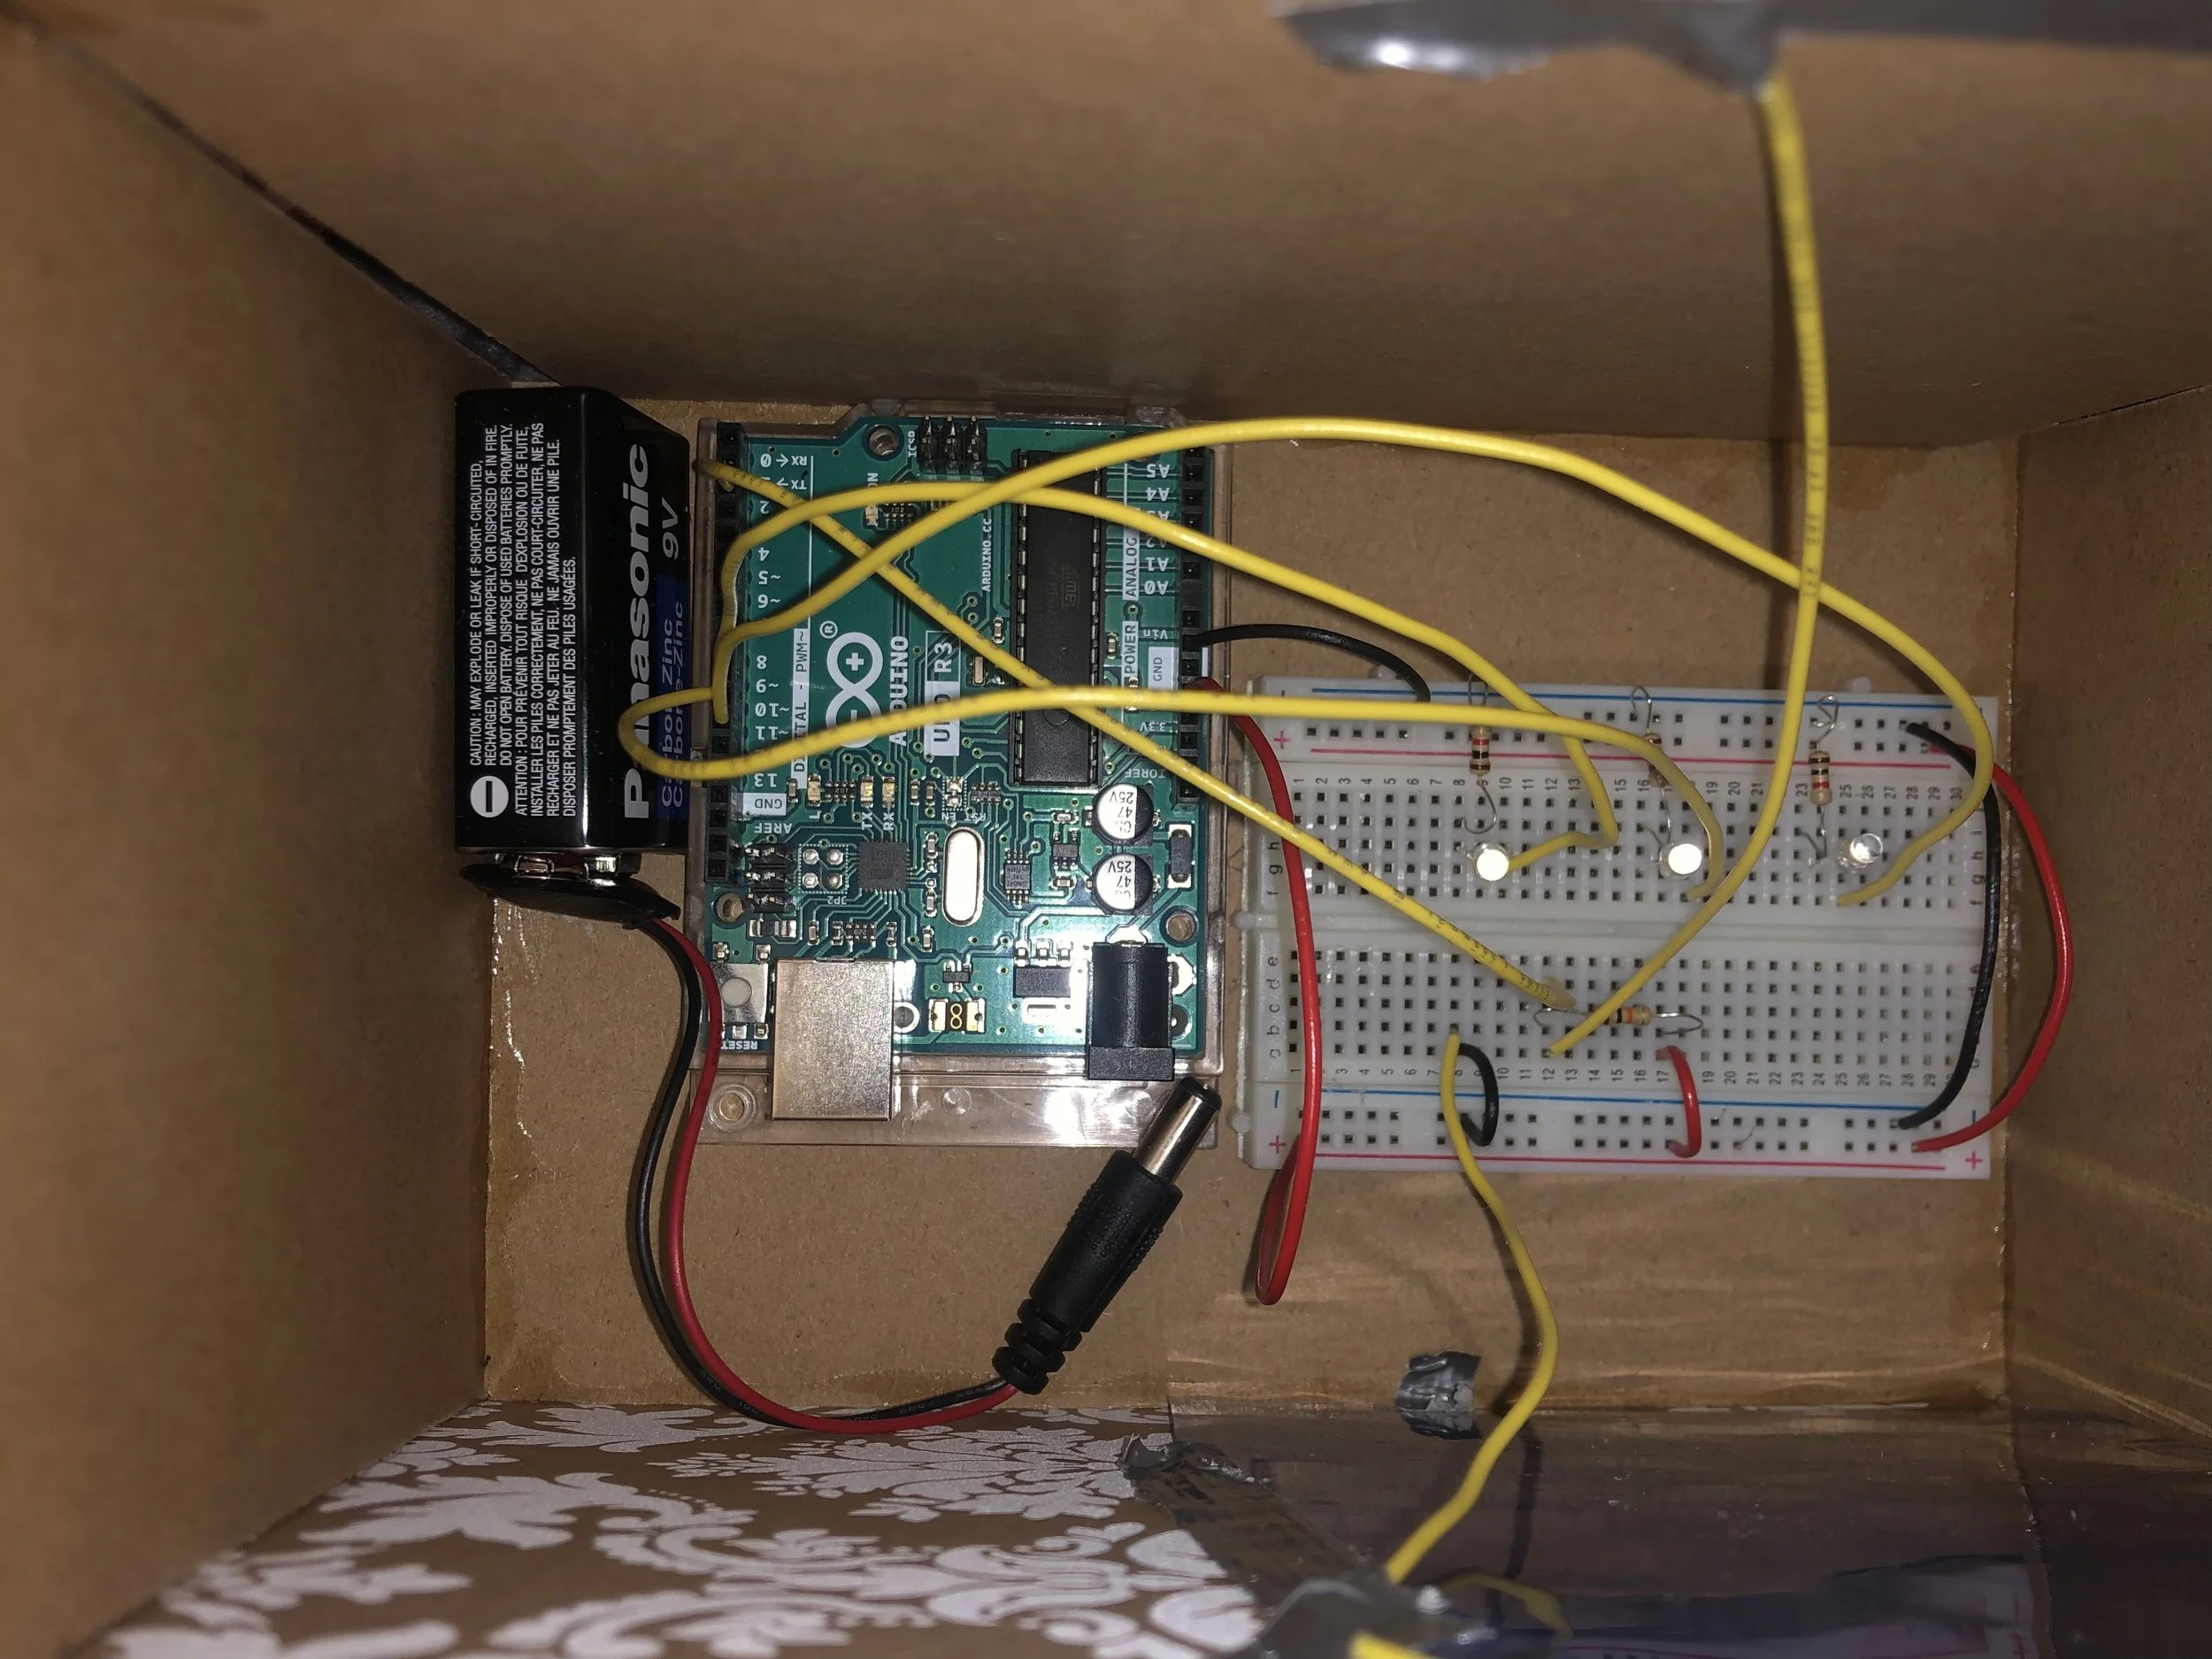
  - LED1 attached from pin 9 to ground with 1k resistor
  - LED2 attached from pin 10 to ground with 1k resistor
  - LED3 attached from pin 11 to ground with 1k resistor
  - pushbutton attached to pin 2 from +5V
  - 10K resistor attached to pin 2 from ground
  - using a 9v battery for my power source

  created 2005
  by DojoDave <http://www.0j0.org>
  modified 30 Aug 2011
  by Tom Igoe

  This example code is in the public domain.

  http://www.arduino.cc/en/Tutorial/Button

  Modified by Simone Jones September 2020
  Modified by Catherine Xayabanha 2021

  DIY Switch:
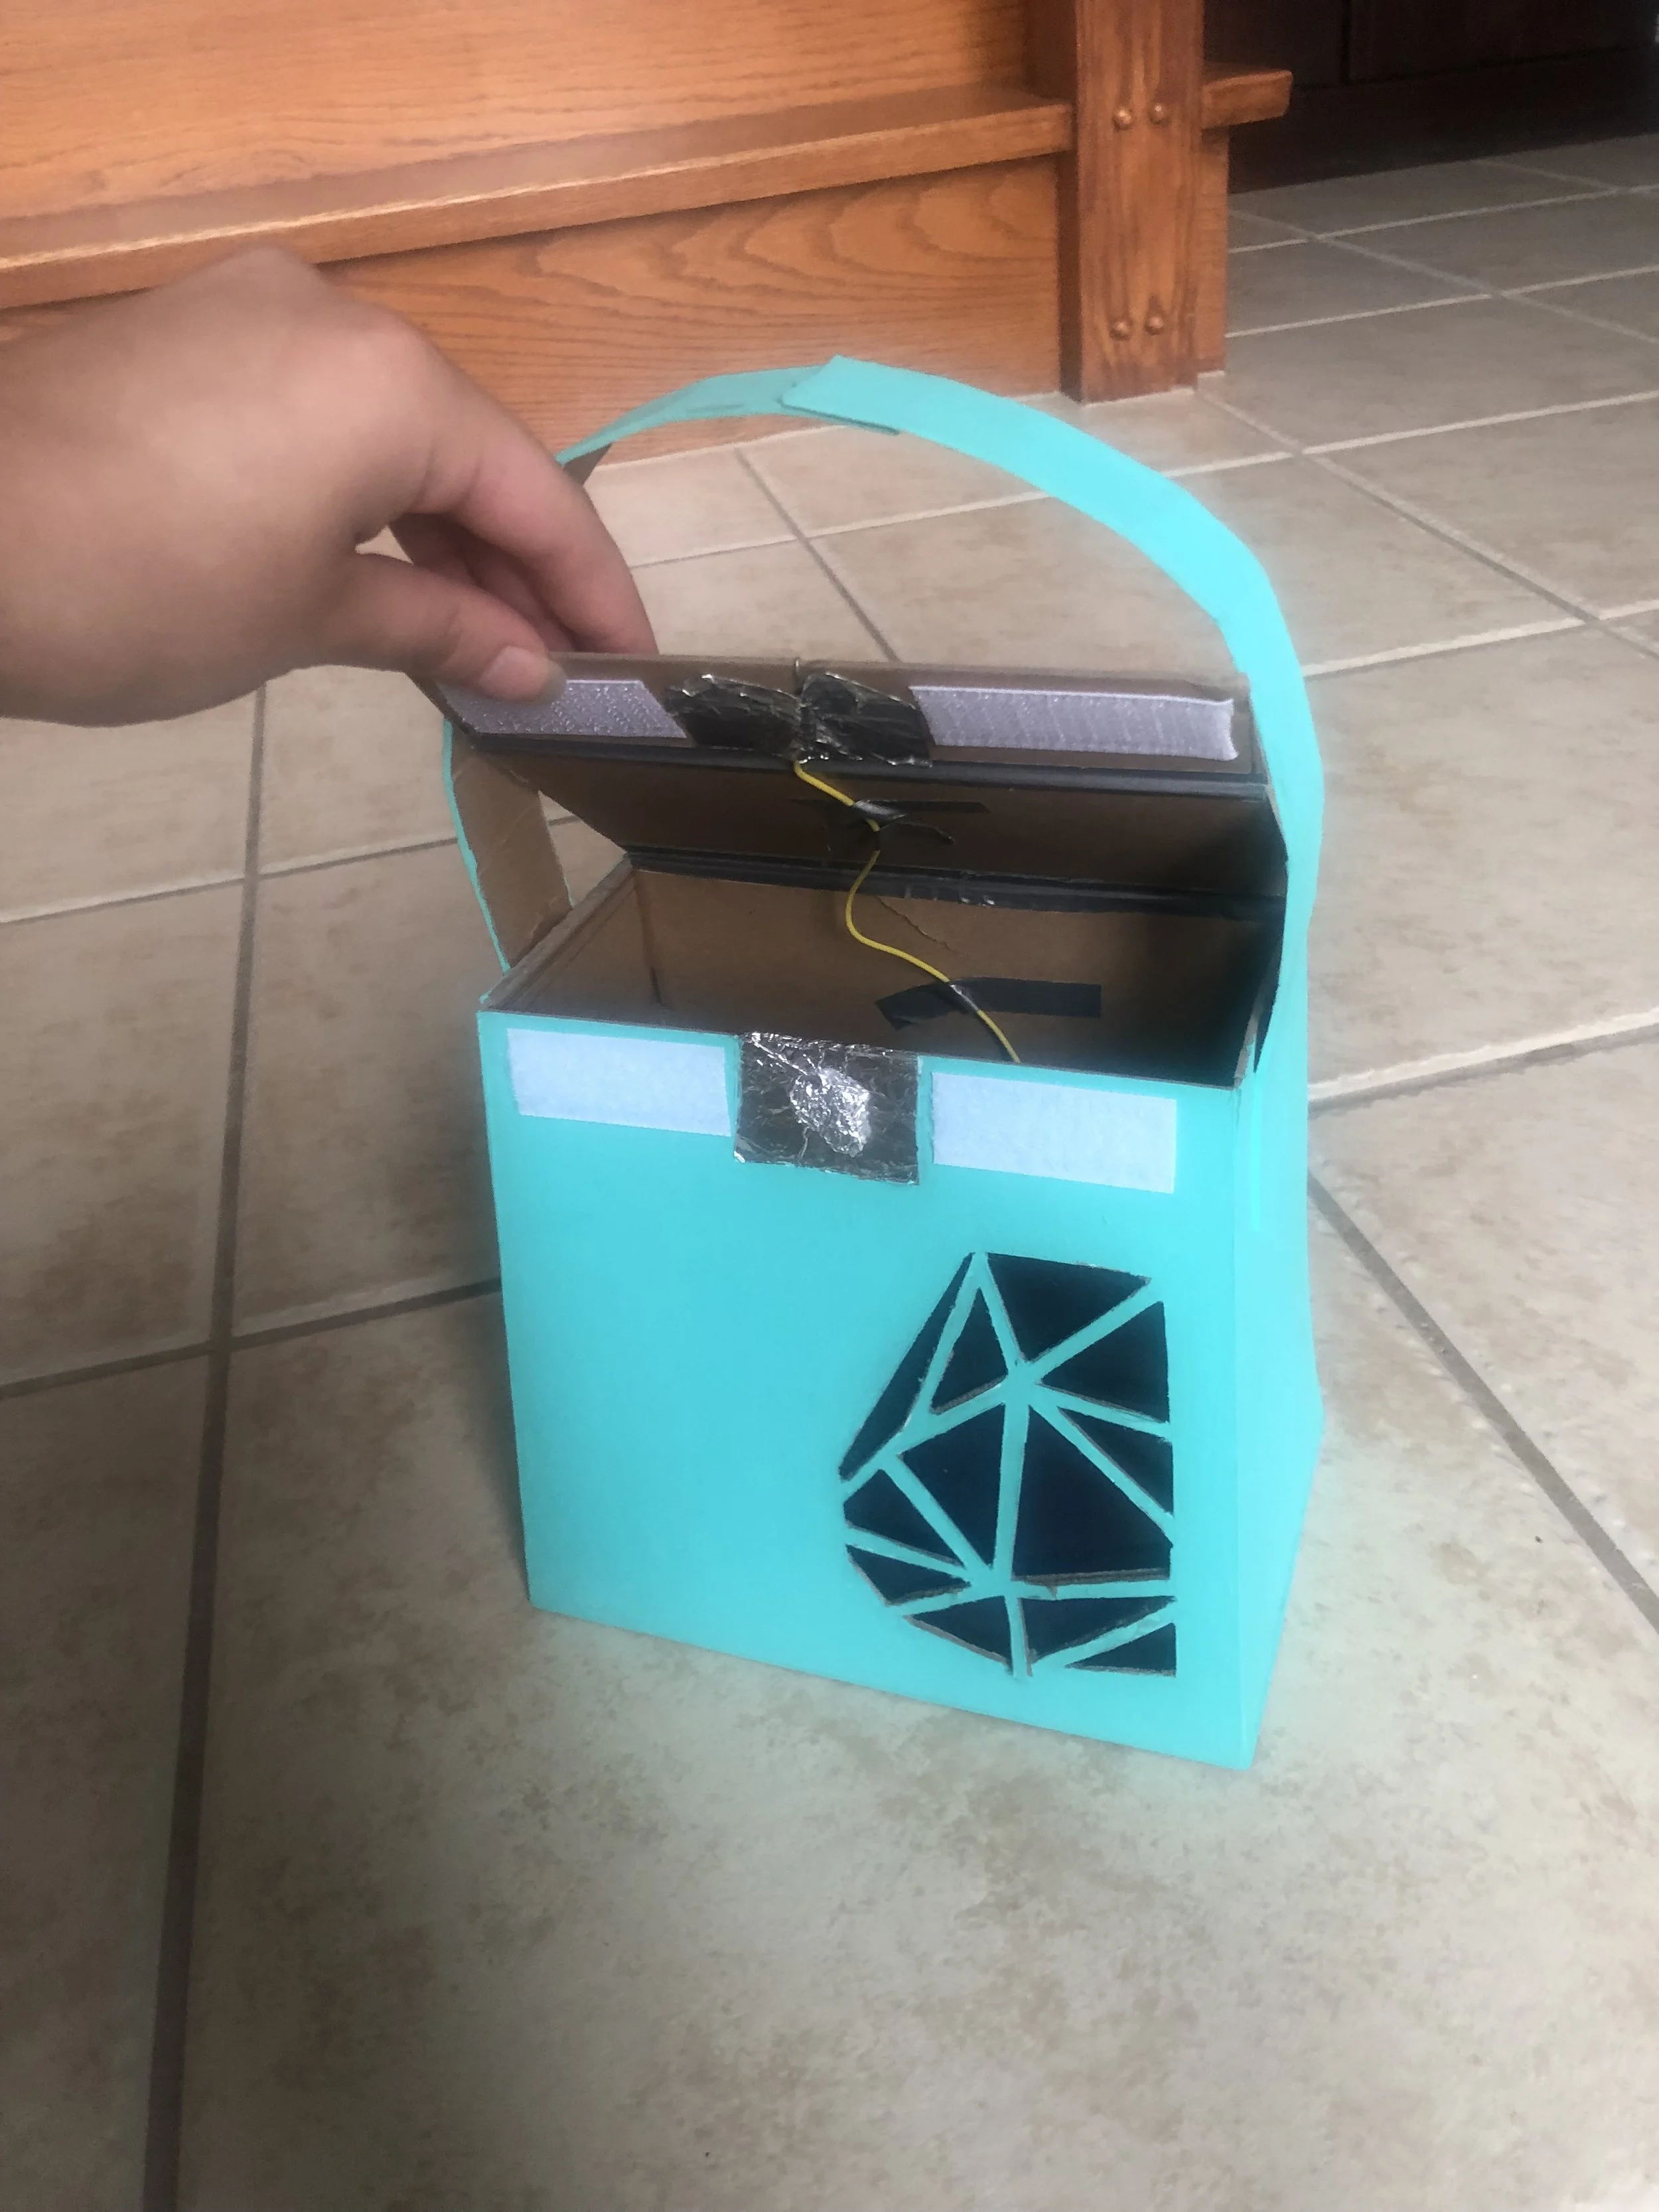
  I made a prototype handbag out of chipboard where when you move the bag,
  the LEDs  fade at random intervals and you can see the light through
  the blue plastic. When the bag is still, the LEDs do not fade. This idea
  came from me being a fast walker and I wanted to echo the movement
  of my bags that move with my movement, except I use the relationship of LED's
  to echo my movement. I use velcro to close the bag slightly so that when I
  make movement with the bag, the friction of the switches will go against each
  other and the LED's fade.
  I used a half breadboard so that I could place it inside the bag and
  I used the 9v battery to make both the Arduino and the bag portable.
*/

// constants won't change. They're used here to set pin numbers:
const int buttonPin = 2;     // the number of the pin on the Arduino that the pushbutton is connected to

const int ledPin =  9; // the number of the pin on the Arduino that LED1 is connected to
const int ledPin2 =  10; // the number of the pin on the Arduino that LED2 is connected to
const int ledPin3 =  11; // the number of the pin on the Arduino that LED3 is connected to


// variables will change:
int buttonState = 0;  // variable for reading the pushbutton status

int randNumber; // variable for changing the DELAY time that the LEDs fade


void setup() {
  // NOTE: we don't need to define the ledPin in setup because we are using analog to fade the LED!
        // initialize the LED pin as an output using "pinMode":
        //  pinMode(ledPin, OUTPUT);

  // initialize the pushbutton pin as an input  using "pinMode":
  pinMode(buttonPin, INPUT);
  Serial.begin(9600);//begin serial communication between the Arduino and the laptop
}

void loop() {
  // read the state of the pushbutton value:
  buttonState = digitalRead(buttonPin);

  Serial.println(buttonState);//print the state of the button pin to the Serial monitor

  // check if the pushbutton is pressed. If it is, the buttonState is HIGH:
  if (buttonState == HIGH) {
    int randNumber = random(2,10); // the minimum is 2 and the highest is 10, everytime the loop runs, the random number will be a different value
    Serial.println(randNumber); // print the random number that generates from the random function to the Serial monitor
    Serial.println(buttonState);//print the state of the Button pin to the Serial monitor

    // FADE function - I used the Analog Fading Example from Arduino
    for (int fadeValue = 0 ; fadeValue <= 255; fadeValue++) {
    // sets the value (range from 0 to 255):

    //we are having all of the LED's fade on and off at the same time
    analogWrite(ledPin, fadeValue);
    analogWrite(ledPin2, fadeValue);
    analogWrite(ledPin3, fadeValue);

    // wait for the random number amount of milleseconds to see the dimming effect
    delay(randNumber);
  }

  // fade out from max to min in increments of fadevalue:
  for (int fadeValue = 255 ; fadeValue >= 0; fadeValue --) {
    // sets the value (range from 0 to 255):
    analogWrite(ledPin, fadeValue);
    analogWrite(ledPin2, fadeValue);
    analogWrite(ledPin3, fadeValue);

    // wait for the random number amount of milleseconds to see the dimming effect
    delay(randNumber);
  }

}else{
  // if buttonState == LOW
  analogWrite(ledPin, 0);//if no one is pushing the button keep the LED1 OFF
  analogWrite(ledPin2, 0);//if no one is pushing the button keep the LED2 OFF
  analogWrite(ledPin3, 0);//if no one is pushing the button keep the LED3 OFF
}
}


